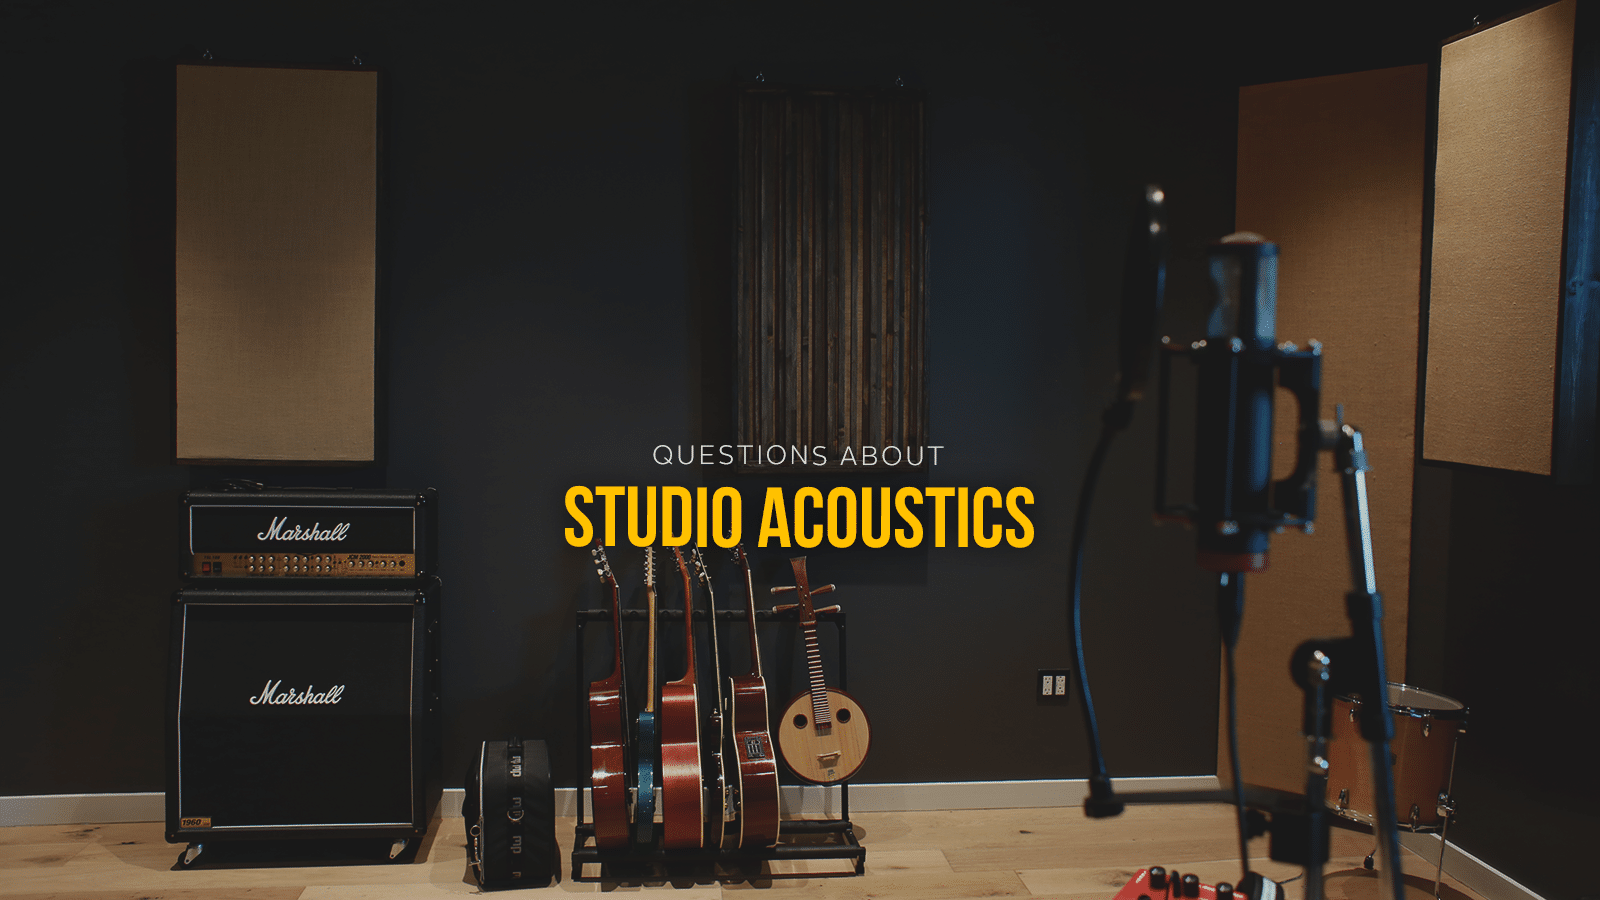
You’ve loaded the gear in and positioned everything just right on your studio desk, so you kick back in a comfy chair, ready to work. You have all the equipment, but what about treatments for your home studio acoustics?
We asked studio designer/builder Leslie Chew of California Sound Services about the top six solutions for home studio acoustics. Who better to ask than the person who built and designed the acoustic treatments at Output studios?
Bonus, if you need acoustic treatment for your own home studio, Output has you covered. Our Eco Acoustic panels, built in partnership with De-Fi, are good for your studio and the planet. (They’re also beautifully designed). Our Absorbers, Diffusers, and Bass Traps are a complete high-performance system that treat your room right.
Common issues when acoustically treating a home studio
Parallel walls with improper dimensions are a very common problem with home studio acoustics. Home studios are often built within bedrooms or other small rooms. These rooms tend to be square-shaped, with reflective, parallel walls.
Each dimension of the room (length, width, and height) corresponds to a frequency, where the wavelength of that frequency matches the distance between the walls. Each of these frequencies is potentially problematic, as they bounce back and forth between opposite and parallel walls.

When your recording studio’s dimensions are similar, they’ll affect similar frequencies and compound the problem. It takes a bit of science but learning how to acoustically treat a home studio is worth the time and effort.
The best types of acoustic treatment to trap frequencies

It’s not always possible to knock out a wall or build some acoustic walls. Try to define the problematic frequencies and manage them with bass trapping and sound-absorbing foam. But be sure to add some diffusion panels to reflect sound energy back into the room.
What acoustic treatment types help balance sound?
To balance sound, it’s recommended to use a combination of absorption, diffusion, and bass traps for home studios. It also depends on whether the room is going to be a mixing/composing control room or a recording room (one that uses microphones to record instruments) or both. Control rooms for mixing are generally tighter and more controlled whereas recording rooms will benefit from a lively, more energized space.
In general, some home studio bass traps are used to control lower frequencies that may be affected by room dimensions.
“Absorption elements are used to remove first reflections that potentially cause phase problems and a ‘smearing’ of sound,” Chew explains. “Diffusion elements are added to energize the room with an array of reflections, instead of the ‘single slap’ that comes off of standard gypsum walls.”
Are acoustic foam panels effective?

Typically, standard acoustic foam panels will absorb and take high frequencies out of a room, leaving the low/low-mid frequencies generally unaffected.
Chew admits, “I don’t use much foam product, however, it can be effective in some situations. Unless the foam is very thick, it works primarily on higher frequencies.”
While these foam panels can take out some problematic chatter in the room, they can also leave the room sounding bass-heavy, often accentuating the bass problems that are already inherent in the room. This needs to be balanced with some basic bass management.
Be warned: The biggest issue about these DIY home studio room treatments occurs when too much is used. It shouldn’t be considered a “cure” for all problems — a modest amount can usually accomplish what’s needed.
DIY home studio acoustic treatment issues to avoid
Acoustic treatment problems tend to happen when they’re not designed for a specific space.
Usually, there are one of two scenarios at play. The first is that there’s no plan and elements are arbitrarily placed. The second occurs when elements are bought and installed based on a design that worked in a different room. “These are usually inspired by either a pre-packaged bundle or something seen in a picture or in another studio,” Chew adds. “An effective solution needs to be based on some analysis of the behavior of that particular room.”
“It takes a bit of science to design a good-sounding room.”
– Leslie Chew
Simple studio acoustic treatments to absorb subwoofer vibration
Assuming that you don’t want to get rid of the sub — or move your recording space to the garage — there are a few room treatments for home studios that can help minimize this problem.
1. Decouple the subwoofer from the structure
Lift the subwoofer off of the floor and place something soft underneath it. Some fairly effective solutions are rubber feet, foam speaker isolators, rubber pads, or even an absorbent material like yoga mats.
2. Add bass traps in your home studio
Remember what Einstein said: “Energy cannot be created or destroyed, it can only be changed from one form to another.”
The more airborne energy you can effectively deactivate, the less that remains to vibrate walls and energize your house. Be aware of how and where you’re trapping the energy. Chew cautions, “Remember that your home studio bass traps take up space and that bass energy has to go somewhere.”
3. Remove vibration risks
Make sure that nothing in the room or house is loose and rattling from low-frequency energy. Any vibrating elements can amplify noise and exacerbate the problem. This can include drywall, molding, windows, studs, electrical, and HVAC ducts.
Learn more about acoustic panels
Want a deeper dive? Our guide to acoustic panels breaks down the difference between different types and how to figure out exactly what you need.


